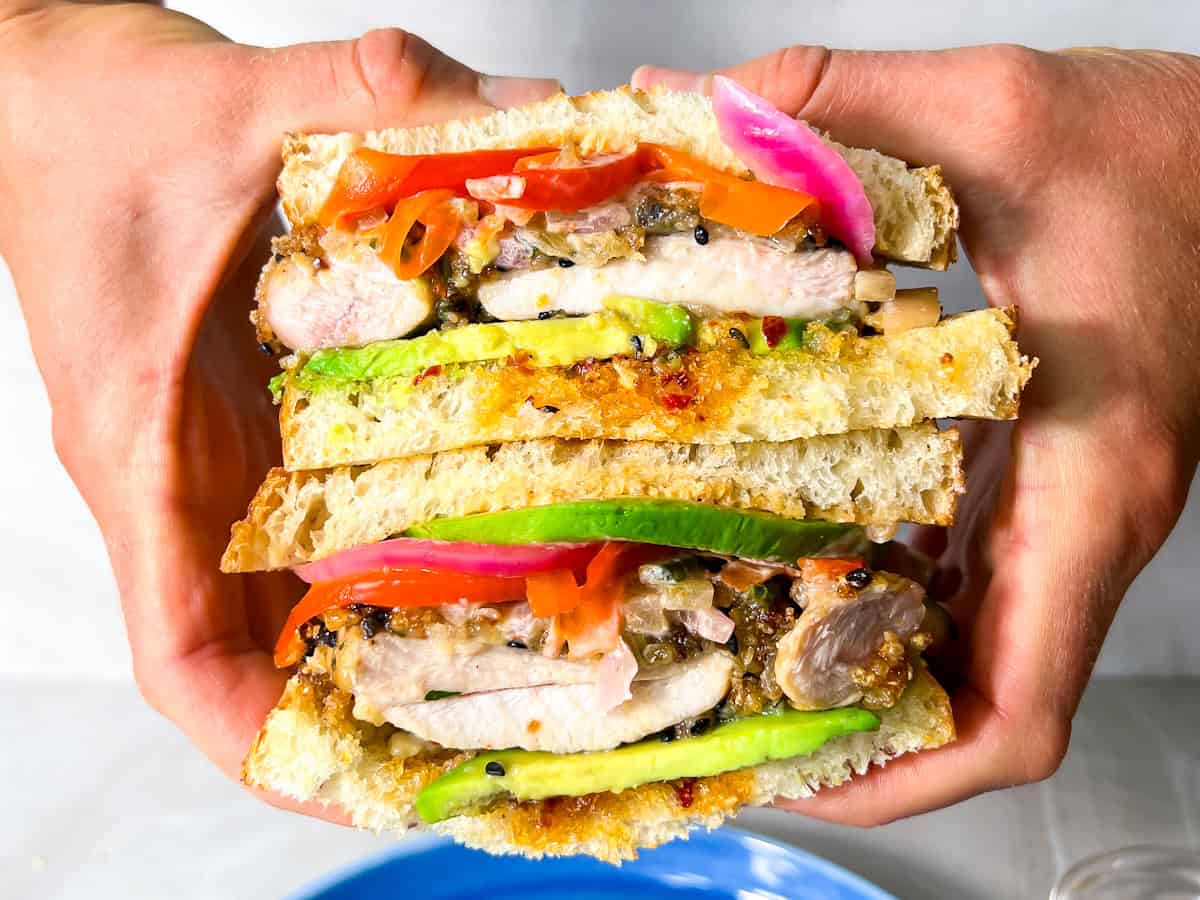
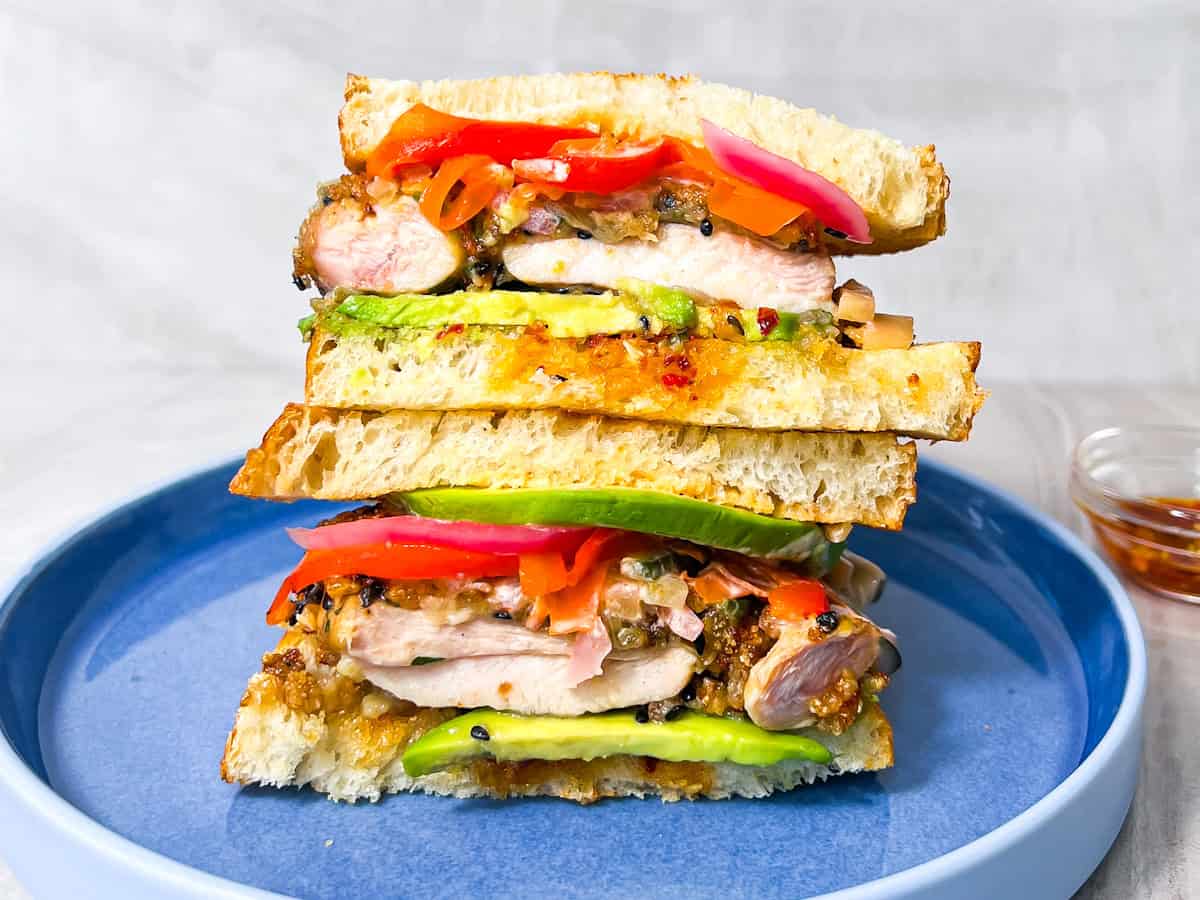
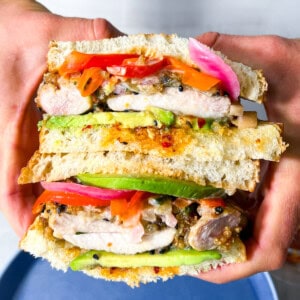
This Chicken Katsu Sandwich is insanely delicious, made with gluten-free crispy & crusted chicken, pickled vegetables, avocado, & a sweet-spicy mayo that ties everything together, all between toasted gluten-free sourdough.
The first time I experienced a Japanese chicken sandwich (also called a katsu sando) was at a small café while traveling, and I knew immediately I had to recreate it at home. After lots of recipe testing, I've created the perfect gluten-free katsu chicken sando!
A Quick Look At The Recipe
- Total Time: 1 hour 15 minutes (includes 1 hour marinade time)
- Recipe Difficulty: Easy
- Cooking Method: Pan-seared
- Main Ingredients: Chicken thighs, gluten-free breadcrumbs, tamari, avocado, gluten-free sourdough
- Dietary Info: Gluten-free, dairy-free, high-protein
- Serves: 4 sandwiches
- Calories: 648 per serving
Summarize & Save This Content On
Loved this recipe. It's hard to find great gluten-free sandwiches, and this one was incredible!
- faith
I've tried more gluten-free sandwiches than I can count, and most are pretty forgettable, but this katsu sandwich? Golden, crispy, flavorful, and absolutely worth the hype.
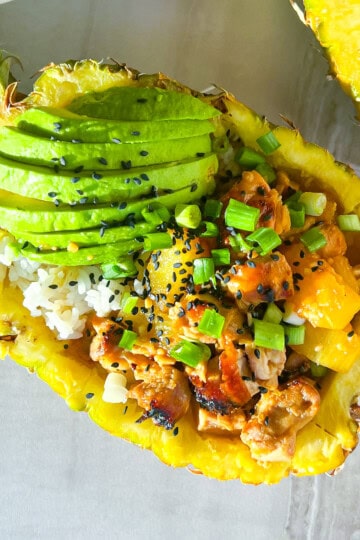
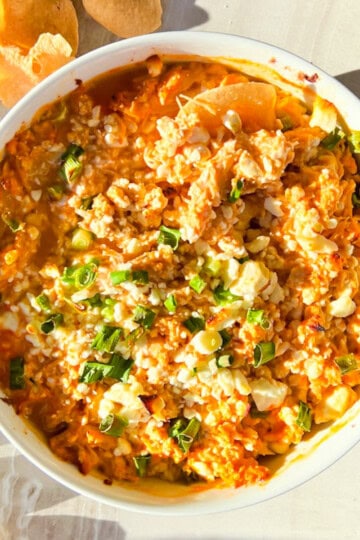
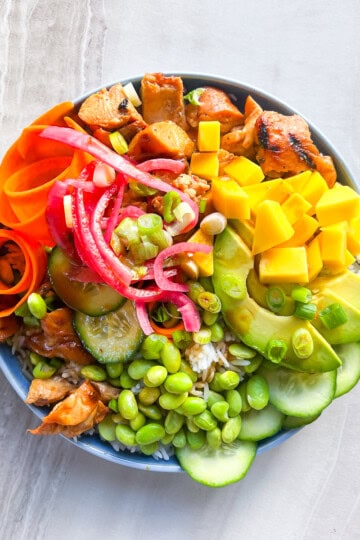
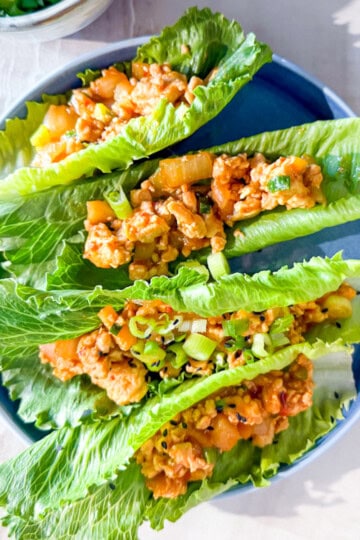
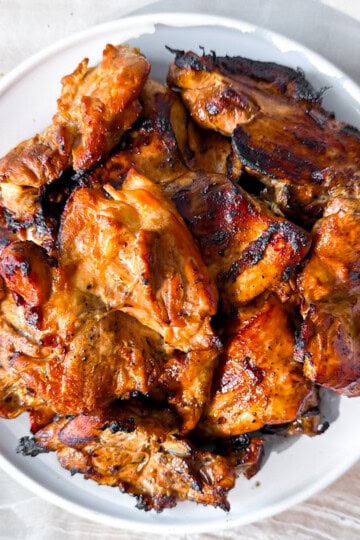
If you love flavorful chicken recipes, you have to try my Asian Chicken Bowls with Crispy Rice, Coconut-Crusted Chicken Tenders, or my Asian-Inspired Chicken Lettuce Wraps!
Why You'll Love This Recipe
- Naturally Gluten-Free: Uses tamari and gluten-free breadcrumbs.
- Actually Stays Crispy: The gluten-free breading doesn't get soggy under the sauce, so every bite keeps that crunch.
- Customizable: Adjust the heat by adding sriracha and chili crisp based on your spice preference.
- Unique & Delicious: Not your ordinary sandwich, golden-crusted chicken, pickled veggies, & avocado on organic gluten-free sourdough come together for a delicious Asian-inspired sando.
- Meal Prep Friendly: Components can be prepped ahead and stored for quick assembly later.
Key Ingredients
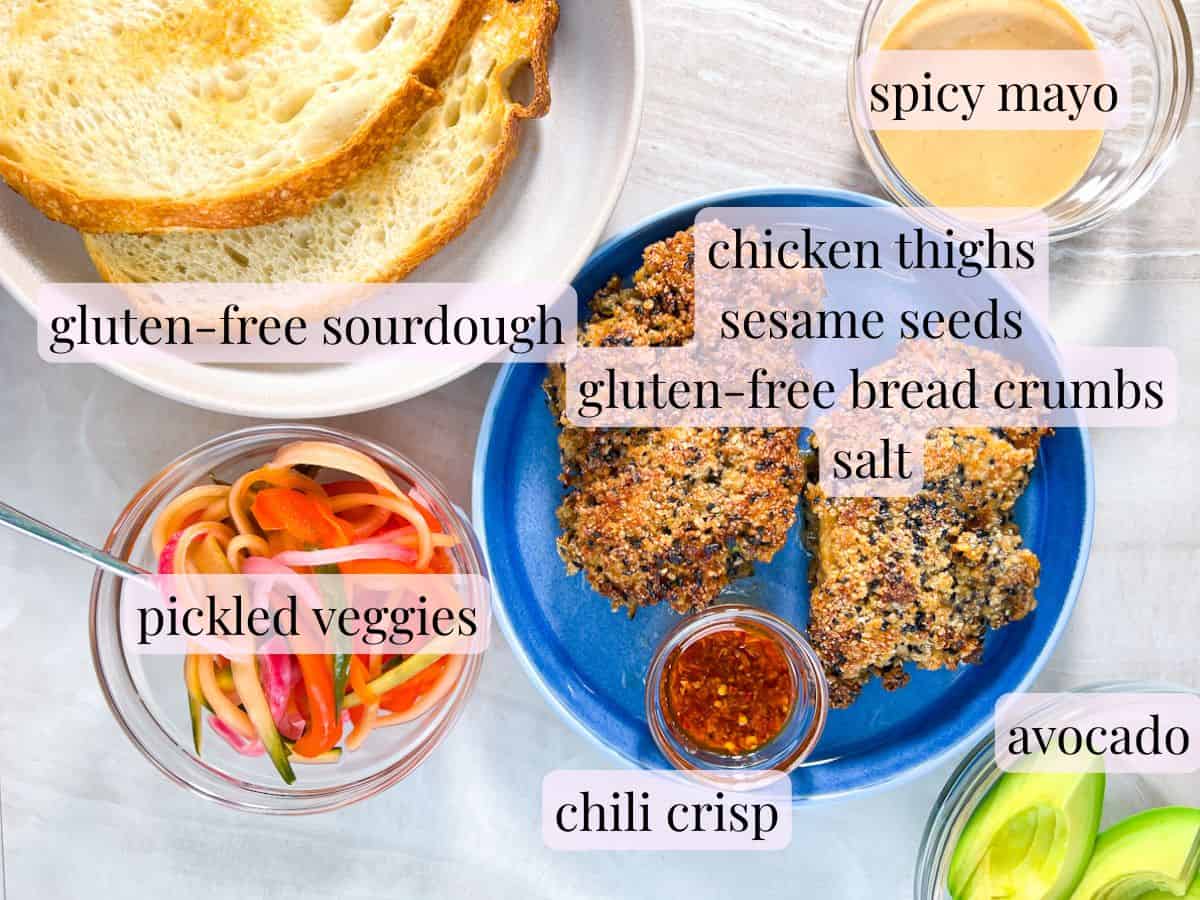
- Chicken Thighs: Boneless, skinless thighs stay more tender and flavorful than breasts; they're also more forgiving if overcooked.
- Tamari: This gluten-free soy sauce adds rich umami for both the marinade and the mayo, key to a crave-worthy chicken katsu sando.
- Gluten-Free Breadcrumbs: Essential for the signature crispy coating in an authentic katsu sando recipe; Aleia's Gluten-Free Plain Breadcrumbs provide the best crunch.
- Sesame Oil: A teaspoon in the marinade adds aromatic, authentic Asian flavor without overpowering.
- Avocado Mayo: Forms the base of the sweet-spicy sauce; avocado oil keeps it clean and dairy-free.
Substitutions & Variations
- Chicken & Bread: Boneless, skinless thighs are ideal, though breasts work too if pounded to an even thickness. Serve on your favorite sandwich bread, or even lettuce wraps for a low-carb twist.
- Breading & Crunch: Gluten-free panko is perfect for a classic katsu sando, but regular panko works if gluten isn't a concern.
- Vegan: Try the same breading technique on pressed tofu. For the spicy mayo, swap the honey for maple syrup or agave.
- Sauce & Seasoning: Replace tamari with coconut aminos or gluten-free soy sauce. Avocado mayo can be swapped with regular or vegan mayo. Add more chili crisp, gochujang, or sriracha for heat.
- Pickled Veggies & Vinegar: Rice vinegar can be substituted with apple cider or white vinegar. I use cucumber, carrots, red onion, and bell pepper, but feel free to pickle your favorite veggies!
- Flavor Variations: This chicken katsu sando is endlessly adaptable. For classic Japanese tonkatsu lovers, top with traditional tonkatsu sauce instead of sweet-spicy mayo. Make a loaded sando by adding kimchi and a fried egg on top.
- Cooking Tip: For an air-fryer version, cook breaded chicken at 400°F for 12-15 minutes, flipping halfway, for golden-crusted perfection.
How To Make A Chicken Katsu Sandwich
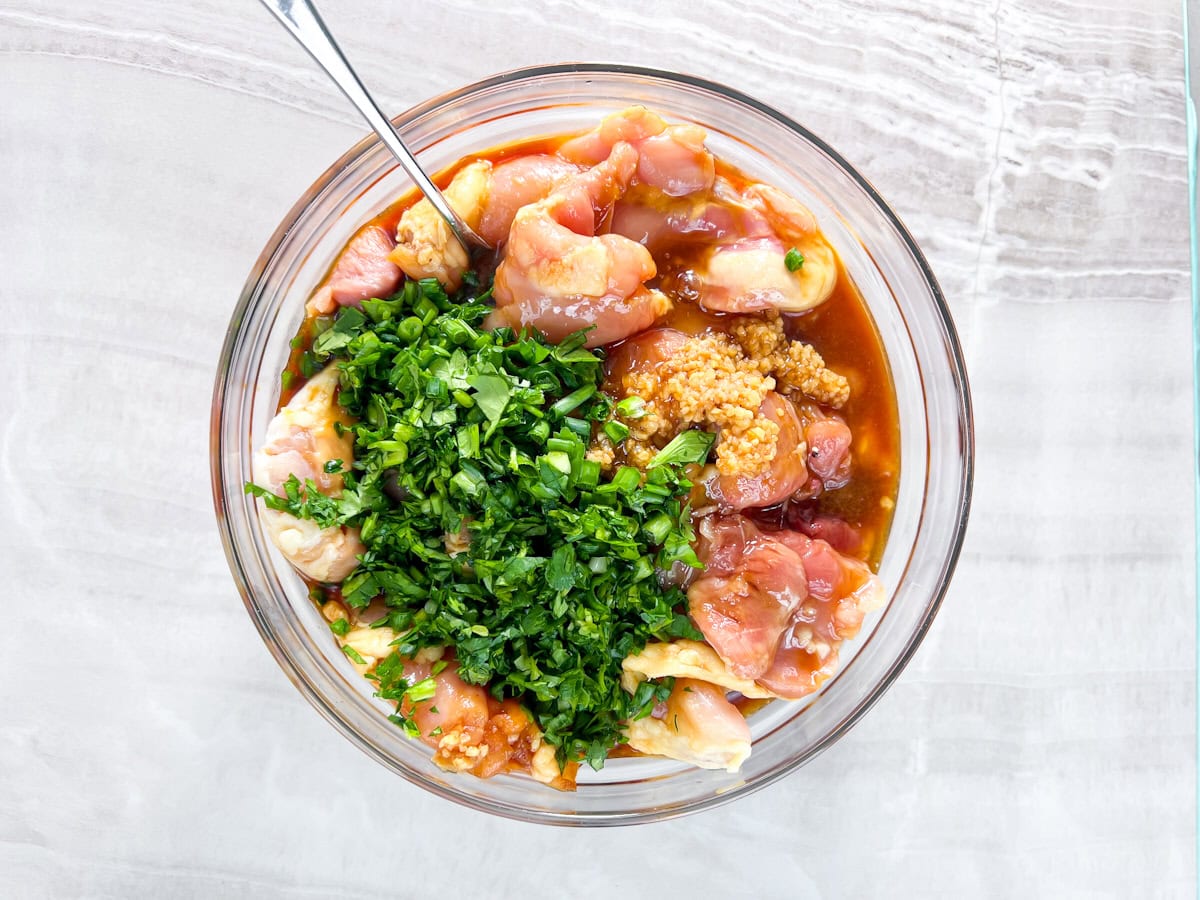
- Step 1: In a medium bowl, whisk together tamari, minced garlic, chopped cilantro, sliced green onions, and sesame oil. Add 4 chicken thighs, coat thoroughly, cover, and refrigerate for 1-4 hours.
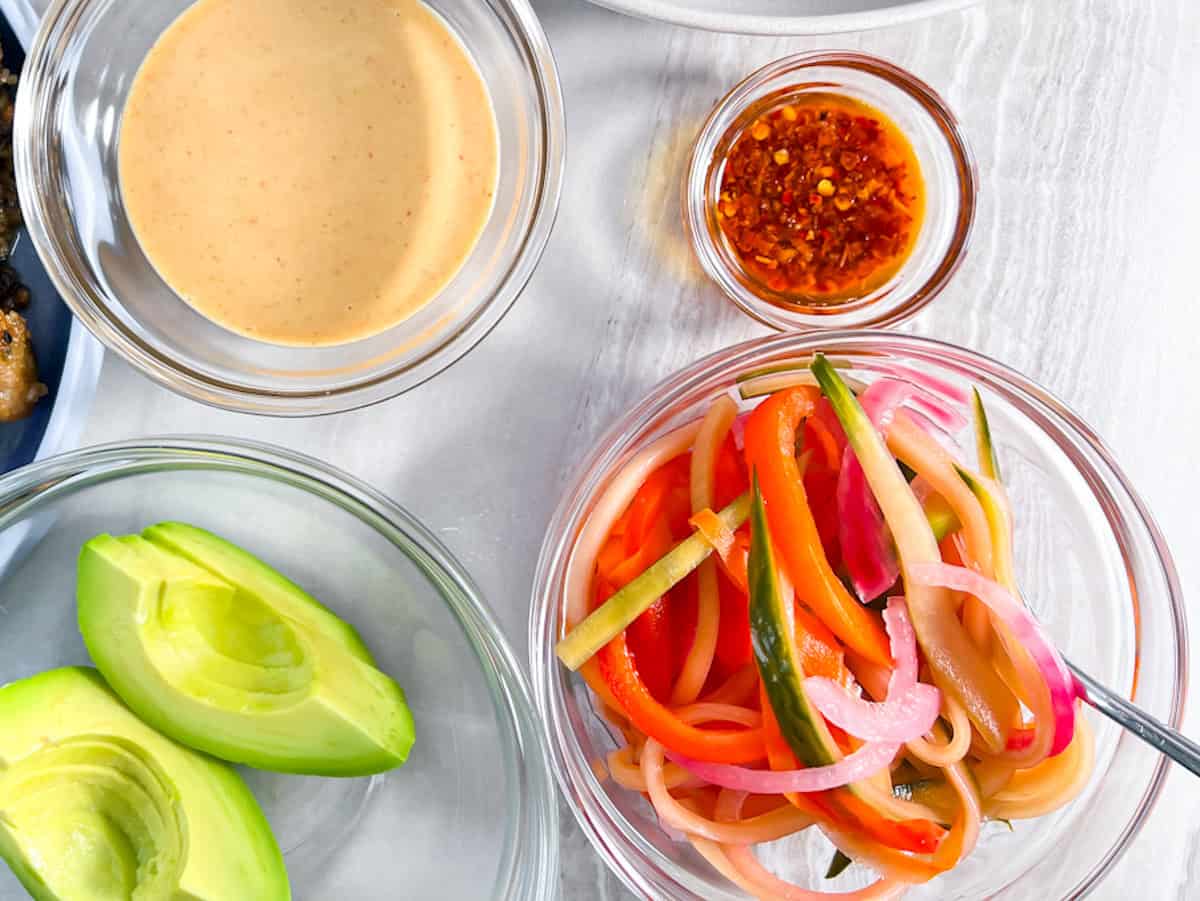
- Step 2: Thinly slice the cucumber, carrots, red onion, and bell pepper. Place in a jar & pour the rice vinegar over, add a pinch of salt, and set aside. Cut the avocados as well. For the spicy mayo, whisk together the avocado mayo, sriracha, tamari, honey, and lime juice.
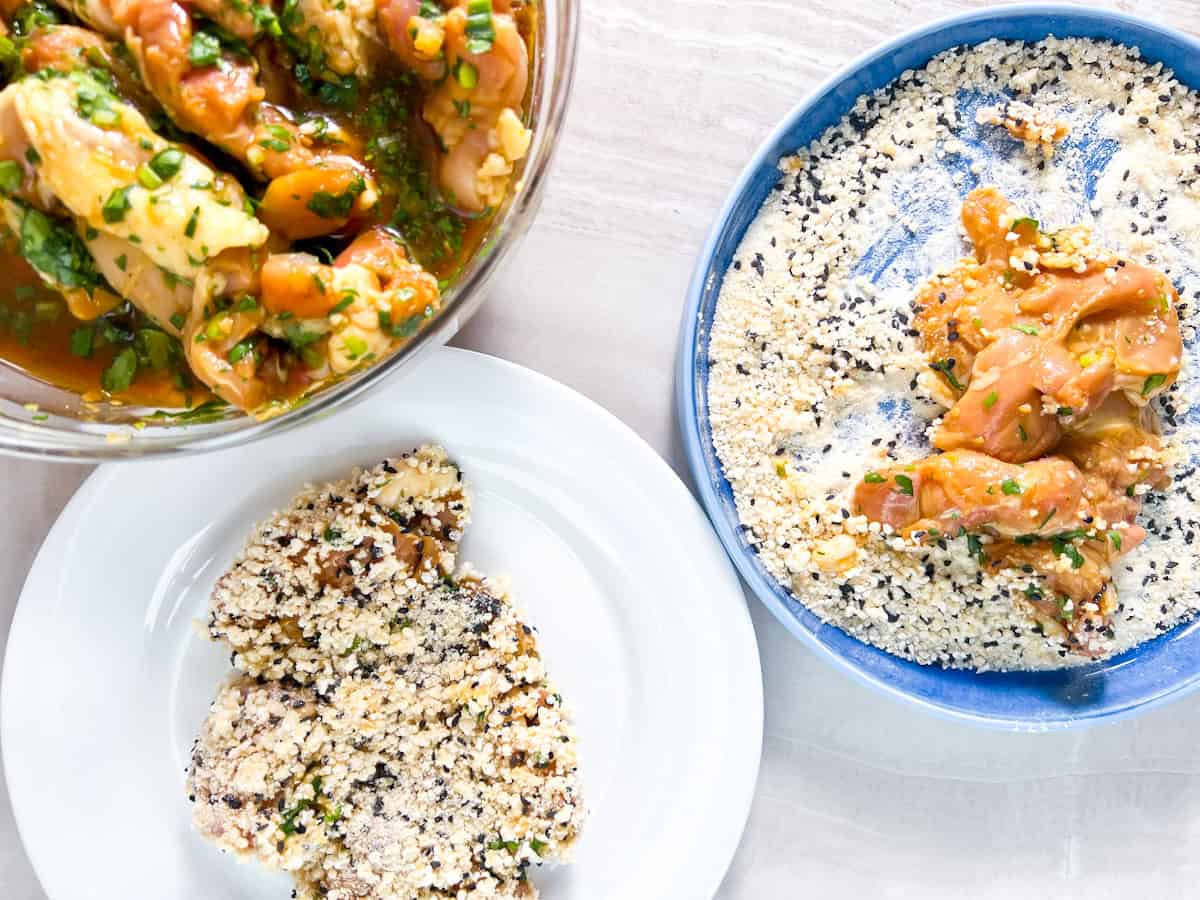
- Step 3: Combine the gluten-free breadcrumbs with salt & sesame seeds. Remove the chicken from the marinade, letting the excess drip off. Press each piece into breadcrumbs, coating evenly. Heat 2-3 tablespoons avocado oil in a skillet over medium heat. Once it's hot, pan-sear the chicken 4-5 minutes per side until golden and 165°F internally.

- Step 4: Toast 8 slices of gluten-free bread & spread the spicy mayo on the toasted bread. Layer pickled vegetables (with excess liquid shaken off), crispy chicken, avocado slices, and drizzle with chili crisp. Top with the other piece of bread, and slice the sandwich in half.
Save This Recipe!
Expert Tips
- Press the Breadcrumbs Firmly: Really push the crumbs into the chicken. This creates a coating that stays in place and gets crispy while cooking.
- Use Medium Heat, Not High: If the pan is too hot, the outside crust of the chicken burns before the inside cooks. Medium heat gives a perfect golden crust and juicy interior.
- Let Chicken Rest 3-4 Minutes: This allows the juices to redistribute after cooking.
- Assemble Right Before Eating: Don't assemble ahead of time, or the sandwich will get soggy.
Pairing Ideas
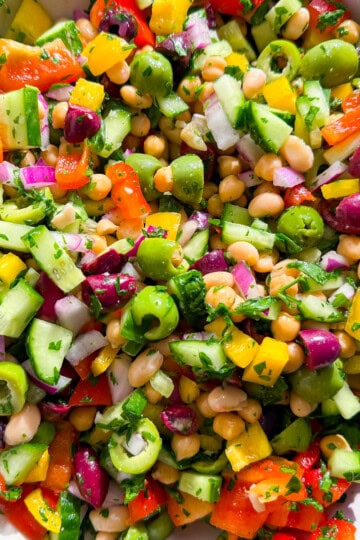
This Japanese chicken sandwich pairs perfectly with light sides like my cucumber and pepper salad or my quinoa & edamame broccoli salad.
Chicken Katsu Sandwich Frequently Asked Questions
A traditional chicken katsu sandwich (or katsu sando) features panko-breaded fried chicken, shredded cabbage, and tonkatsu sauce between soft white bread.
Katsu chicken is made from chicken cutlets (typically breast or thigh) that are pounded thin, dredged in flour, dipped in beaten egg, coated in panko breadcrumbs, and deep-fried or pan-seared until golden and crispy. The word "katsu" comes from the Japanese pronunciation of "cutlet."
Chicken katsu uses Japanese panko breadcrumbs for an ultra-crispy, flaky coating and is typically served as a cutlet with sauce, whereas American fried chicken uses a seasoned flour-based coating and is often served as bone-in pieces. Katsu also has a lighter, crunchier texture.
More High-Protein Recipes with Chicken
Did you make this recipe?
Let me know your thoughts by leaving a comment and rating below. Also, share it on socials to let others know what you think! Be sure to tag @entirelyemmy so I can share your masterpiece with my followers! ✨
📖 Recipe
Chicken Katsu Sandwich
Ingredients
- 8 Slices Gluten Free Sourdough
- 4 Chicken Thighs 1 pound
Katsu Chicken Crust
- 2 Cups Gluten Free Bread Crumbs
- 1 Tablespoon Sesame Seeds
- 1 Teaspoon Salt
- 2 Tablespoons Olive Oil for cooking
Chicken Marinade
- 1 Cup Tamari or gluten free soy sauce
- 1 Tablespoon Garlic
- ½ Cup Cilantro chopped
- ½ Cup Green Onions chopped
- 1 Teaspoon Sesame Oil
Sweet & Spicy Mayo
- ¼ Cup Avocado Mayo
- 1 Tablespoon Sriracha
- 1 Tablespoon Tamari
- 1 Tablespoon Honey
- 1 Lime juiced
Pickled Veggies
- 1 Cucumber
- 2 Carrots
- 1 Red Onion
- 1 Bell Pepper
- 1 Cup Rice Vinegar
Toppings
- 2 Avocados
- Chili Crisp
Instructions
- In a medium bowl, whisk together tamari, minced garlic, chopped cilantro, sliced green onions, and sesame oil. Add 4 chicken thighs, coat thoroughly, cover, and refrigerate for 1-4 hours.
- Thinly slice the cucumber, carrots, red onion, and bell pepper. Place in a jar & pour the rice vinegar over, add a pinch of salt, and set aside. Cut the avocados as well. For the spicy mayo, whisk together the avocado mayo, sriracha, tamari, honey, and lime juice.
- Combine the gluten-free breadcrumbs with salt & sesame seeds. Remove the chicken from the marinade, letting the excess drip off. Press each piece into breadcrumbs, coating evenly. Heat 2-3 tablespoons avocado oil in a skillet over medium heat. Once it's hot, pan-sear the chicken 4-5 minutes per side until golden and 165°F internally.
- Toast 8 slices of gluten-free bread & spread the spicy mayo on the toasted bread. Layer pickled vegetables (shaken off excess liquid), crispy chicken, avocado slices, and drizzle with chili crisp. Top with the other piece of bread, and slice the sandwich in half.
Notes
- Press the Breadcrumbs Firmly: Really push the crumbs into the chicken. This creates a coating that stays in place and gets crispy while cooking.
- Use Medium Heat, Not High: If the pan is too hot, the outside crust of the chicken burns before the inside cooks. Medium heat gives a perfect golden crust and juicy interior.
- Let Chicken Rest 3-4 Minutes: This allows the juices to redistribute after cooking.
- Assemble Right Before Eating: Don't assemble ahead of time, or the sandwich will get soggy.


Faith says
Loved this recipe. It’s hard to find great gluten free sandwiches and this one was incredible!
Connie says
What brand of gf crumbs do you use?
Emmy Clinton says
I typically use Aleia’s Gluten Free Plain Bread Crumbs! They're linked in the recipe!